A Step-by-Step Guide to Building Your Own Raised Garden Bed
- 0 Comments
- 21 February 2024
A Step-by-Step Guide to Building Your Own Raised Garden Bed

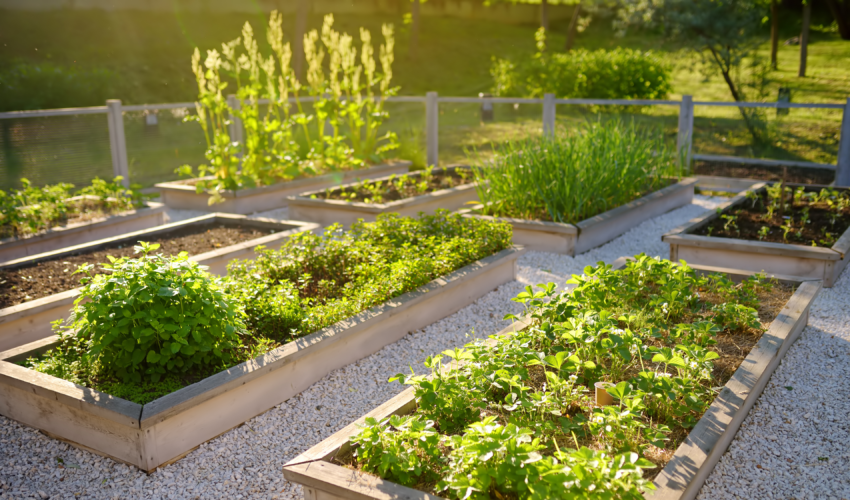
Raised garden beds are a fantastic way to optimize gardening space, improve soil quality, and make gardening more accessible. Whether you’re a seasoned gardener or just starting out, building your own raised garden bed can be a rewarding project. In this blog, we’ll provide a step-by-step guide to building your own raised garden bed.
Materials Needed:
Before getting started, gather the following materials:
– Wood boards (cedar or redwood are good choices for durability)
– Screws or nails
– Saw
– Measuring tape
– Level
– Weed barrier fabric
– Soil
– Compost
– Plants or seeds
Step 1: Choose the Location
Select a suitable location for your raised garden bed. Look for an area that receives adequate sunlight and is easily accessible for watering and maintenance. Ensure the ground is level and clear of any debris or vegetation.
Step 2: Determine the Size and Shape
Decide on the dimensions and shape of your raised garden bed based on your available space and gardening needs. Common dimensions range from 4 feet by 4 feet to 4 feet by 8 feet, with a height of around 6 to 12 inches. Use your measuring tape to mark the outline of the bed.
Step 3: Cut the Wood Boards
Using a saw, cut the wood boards to the desired lengths for the sides of your raised garden bed. Make sure the boards are of equal length for each side if you want a square or rectangular bed.
Step 4: Assemble the Frame
Lay out the boards in the desired shape to form the frame of the raised garden bed. Use screws or nails to secure the corners together. Use a level to ensure the frame is even and square.
Step 5: Prepare the Ground
Once the frame is assembled, place it in the chosen location and make any necessary adjustments to ensure it is level. Remove any grass or weeds from inside the frame and compact the soil to create a stable base.
Step 6: Install Weed Barrier Fabric
Cut a piece of weed barrier fabric to fit the bottom of the raised garden bed. This will help prevent weeds from growing up into the bed while still allowing for proper drainage.
Step 7: Fill with Soil and Compost
Fill the raised garden bed with a mixture of soil and compost. Aim for a nutrient-rich blend that will provide a healthy growing environment for your plants. You can also add other amendments like perlite or vermiculite to improve drainage and aeration.
Step 8: Plant Your Garden
Once the raised garden bed is filled with soil, it’s time to plant your garden! Choose a variety of plants or seeds that thrive in your climate and consider companion planting for optimal growth. Be sure to water your plants regularly and monitor their progress throughout the growing season.
Building a raised garden bed is a fulfilling project that can enhance your gardening experience and yield bountiful harvests. By following these simple steps, you can create a beautiful and productive garden space right in your own backyard. Get creative, experiment with different plants, and enjoy the fruits of your labor!